Installation
In order to use Sales BI you must first install the Business Central connector to extract the data and translate it into Power BI. On the other hand, you will have to install and configure the dashboard.
1. Installation and Connector Setup
First, install the Aitana Dashboards Connector for Power BI in Business Central. The connector allows you to provide data to the dashboard.
It is important to note that, in addition to installing from AppSource, you can also install the connector directly in Business Central.
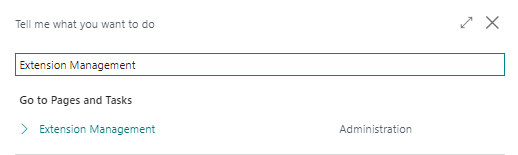
To install it directly from Business Central, open the search bar and type Extension Management.
Once in Extension Management, navigate to Manage - Extension Marketplace to access Microsoft AppSource and search for new extensions to install. Here, search for Aitana Dashboards Connector for Power BI.
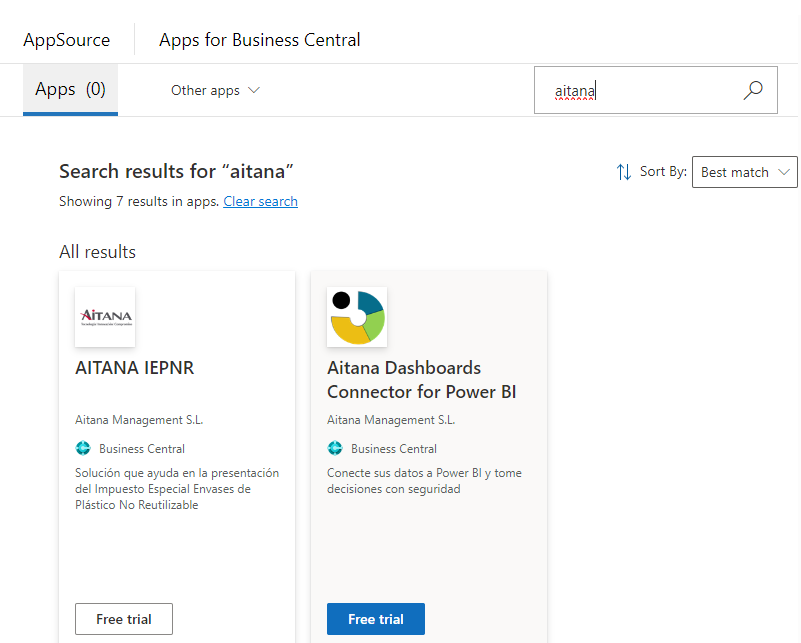
At this point, proceed with the connector installation by clicking Free Trial.
This connector is designed for all Aitana dashboards, so once installed, it will be functional across Finance BI, Sales BI, and future dashboards.
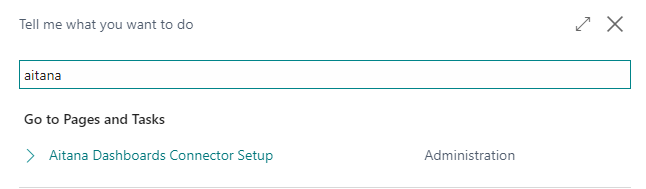
After installation, you’ll need to configure the connector. To do this, go to the Aitana Dashboards Connector Setup page, which can be accessed directly through the Business Central search bar, as shown below. You may also bookmark this page for quicker access.
Once there, under General Settings, you will find the option to Enable/Disable PWBI Connector.
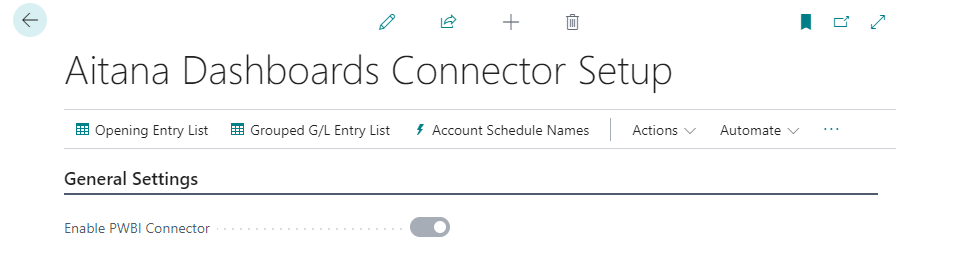
Enabling this option allows for data synchronization across your companies. If enabled, the data from the company selected in your current environment will sync with Power BI.
This option must be configured individually for each company.
Additionally, another button labeled Enable AI Visuals is available. When activated, it automatically enables visuals powered by artificial intelligence, allowing users to analyze predictions, detect anomalies in their data, and access other advanced functionalities.
In the Sales Entry Settings section, you’ll find additional configuration options.
Here, you can define the year from which Sales Entry data will be synchronized, which helps to define a clear starting point for data.
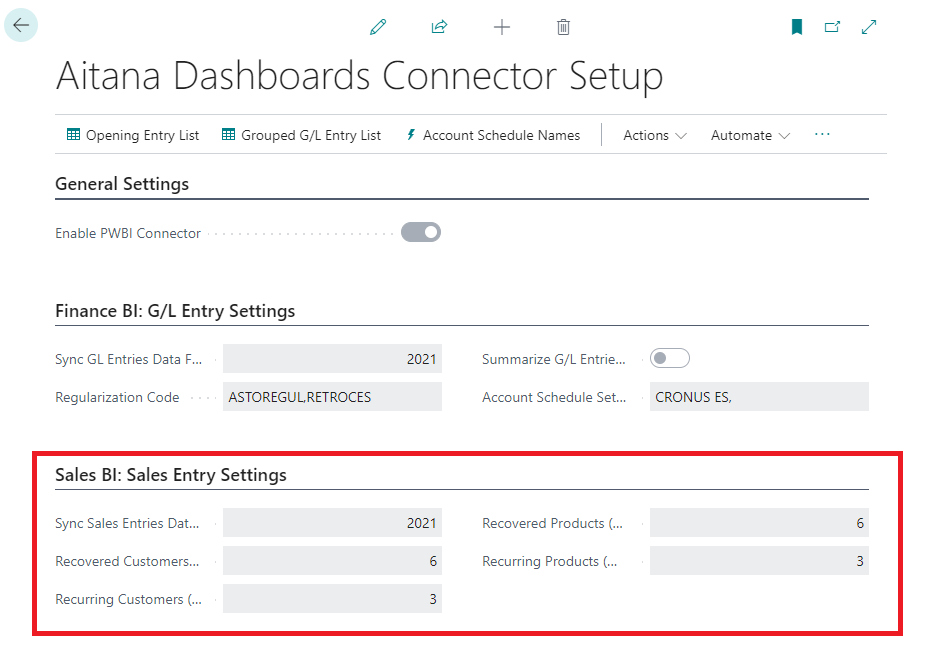
Additionally, you will find options to define and configure criteria for identifying recurring and recovered customers/products.
Recovered Customer: A customer who returns to purchase after a specified period without any transactions. The user should define the number of months without purchases after which a customer is considered recovered.
Recurring Customer: A customer who has made purchases over a specific number of consecutive months. Here, it’s advisable to set the number of consecutive months of purchases needed to classify a customer as recurring.
Recovered Product: A product that, after a certain period without sales, is purchased again. In this case, it’s recommended to define the number of months without sales after which a product is considered recovered.
Recurring Product: A product that has been sold over a specified number of consecutive months. The user should set the number of consecutive months with sales required to consider a product as recurring.
Settings specified in Sales Setup apply to all companies within your Business Central environment.
AppSource: Business Central


With the connector installed and configured, your reports will now include synced data.
STEP 2: Installation and Configuration Setup.
The next step is to install the application in the Power BI service. You can install Sales BI from the Microsoft AppSource or from the Power BI service web site.
AppSource: Power BI Service

In the Power BI Service you should go to the Applications section, then select Get Applications and search for Aitana Sales BI.
Once you have installed both Power BI Connector for Aitana Dashboards and Aitana Sales BI, you can move to Aitana Sales BI setup